
Roofing Rebels Denton
Roof Repair, Replacement & Emergency Roofing Solutions
Welcome to Roofing Rebels Denton, your trusted local experts for roofing, fencing, decking, concrete, and gutter services in Denton, Texas. Our brand stands for quality, reliability, and honest craftsmanship. Whether you need emergency roof repair, a new fence installation, a concrete driveway, or gutter replacement, we deliver results built to last. Serving Denton and the surrounding North Texas communities, Roofing Rebels Denton is here to protect your home and elevate your property.
Get In Touch With Us!
General Contracting Services We Offer In Denton and Dallas–Fort Worth metroplex

ROofing
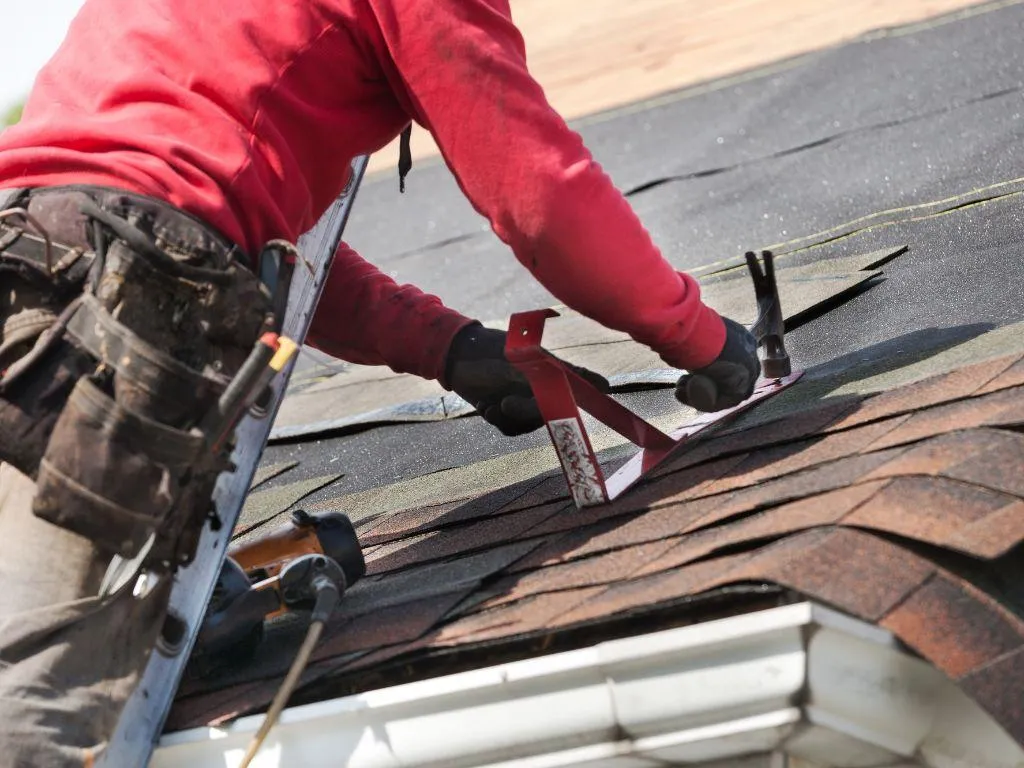
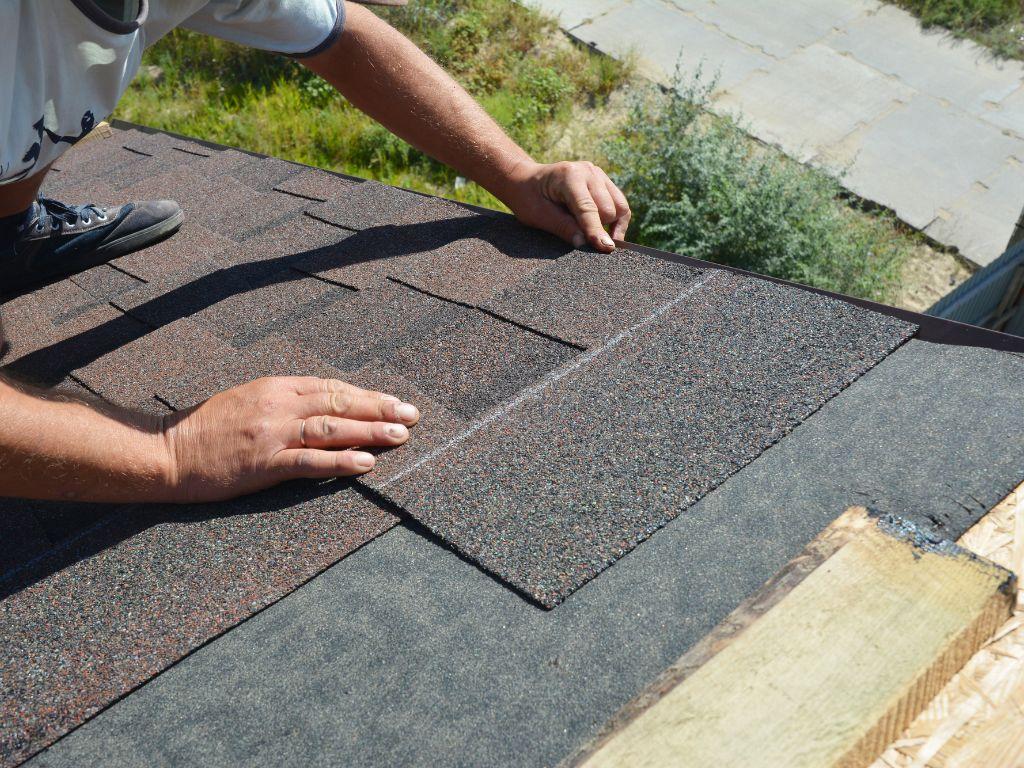
Built to Last in Denton
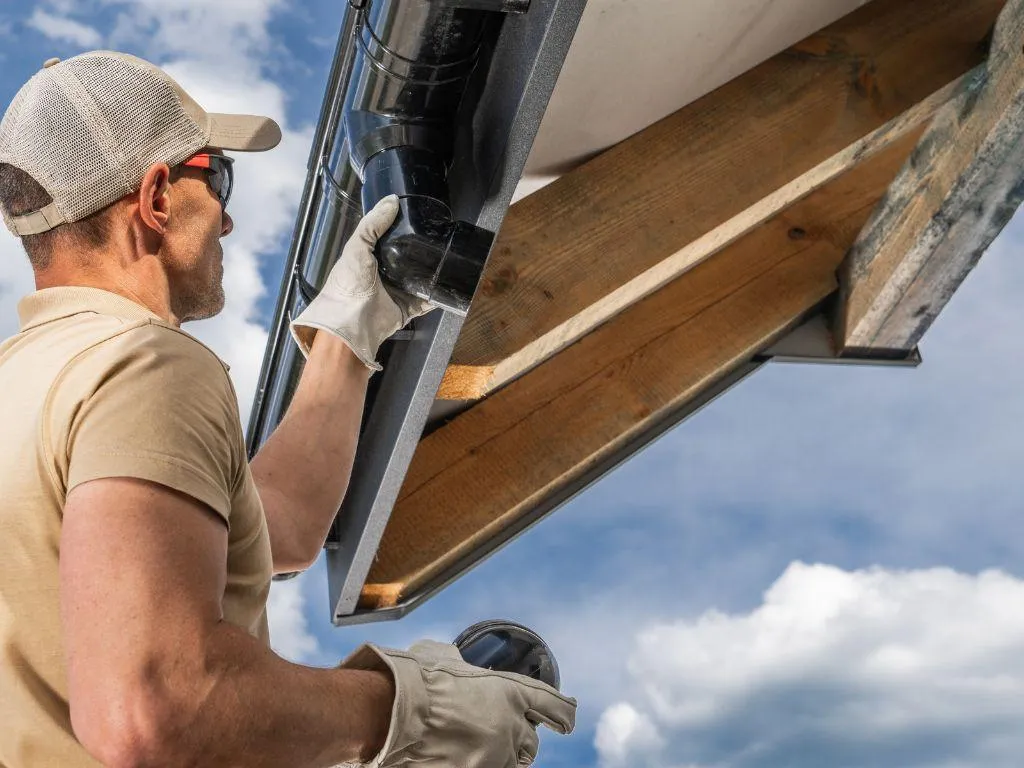
At Roofing Rebels Denton, our roofing services are the backbone of what we do. From shingle replacement to complete roof tear-offs and reinstallation, we handle every job with care and precision. We understand the impact North Texas storms can have on your home, so we offer fast, dependable emergency roofing services when you need them most.We specialize in asphalt shingles, metal roofing, underlayment, flashing, ridge vents, and complete roof decking systems. Our team uses durable materials backed by manufacturer warranties to ensure long-term protection.
Key Roofing Terms We Work With:
Asphalt shingles
Roof flashing
Underlayment
Roof pitch and slope

Fencing Services Built for Texas Properties
Professional Fence Installation & Replacement
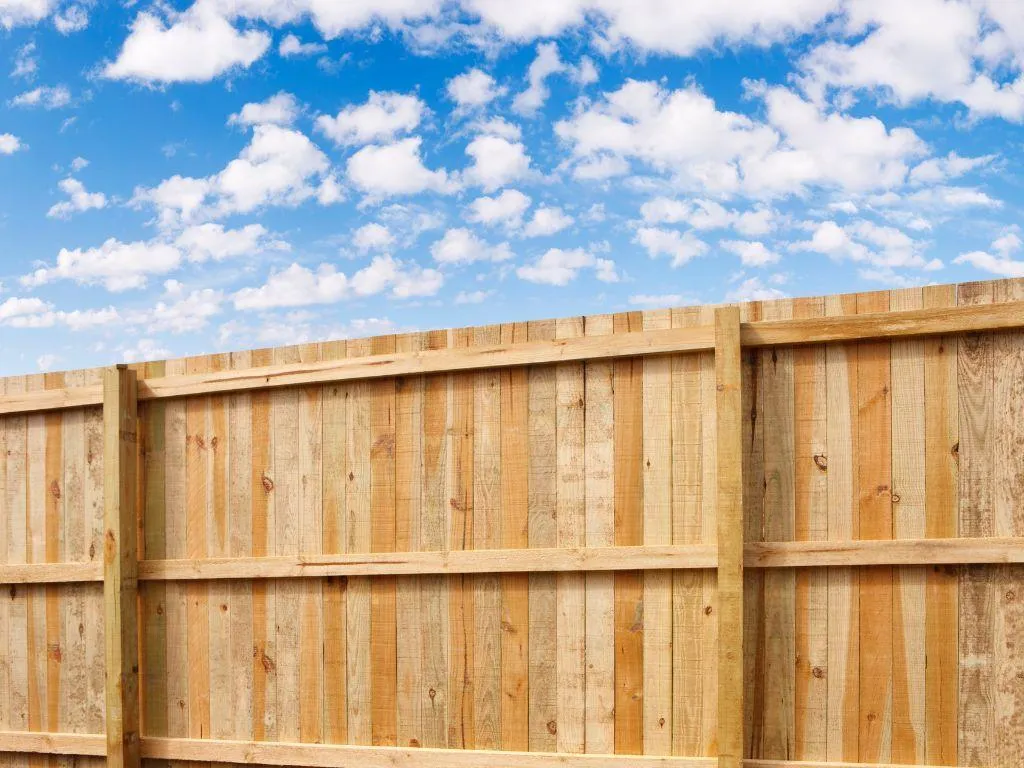
Your fence does more than define your property, it adds privacy, security, and curb appeal. Roofing Rebels Denton installs and repairs fences built for Denton’s climate and soil. Whether you need a wood privacy fence, wrought iron perimeter, or durable chain link, we customize every build to fit your property line and style. We handle post-setting, gate latches, weather-resistant stains, and full replacements. Our team understands Texas fencing codes and property boundaries. Common Fence Styles:
Cedar privacy fences
Chain link fencing
Decorative wrought iron
Horizontal slat wood fences
Upgrade your outdoor space with a fence that works as hard as you do.
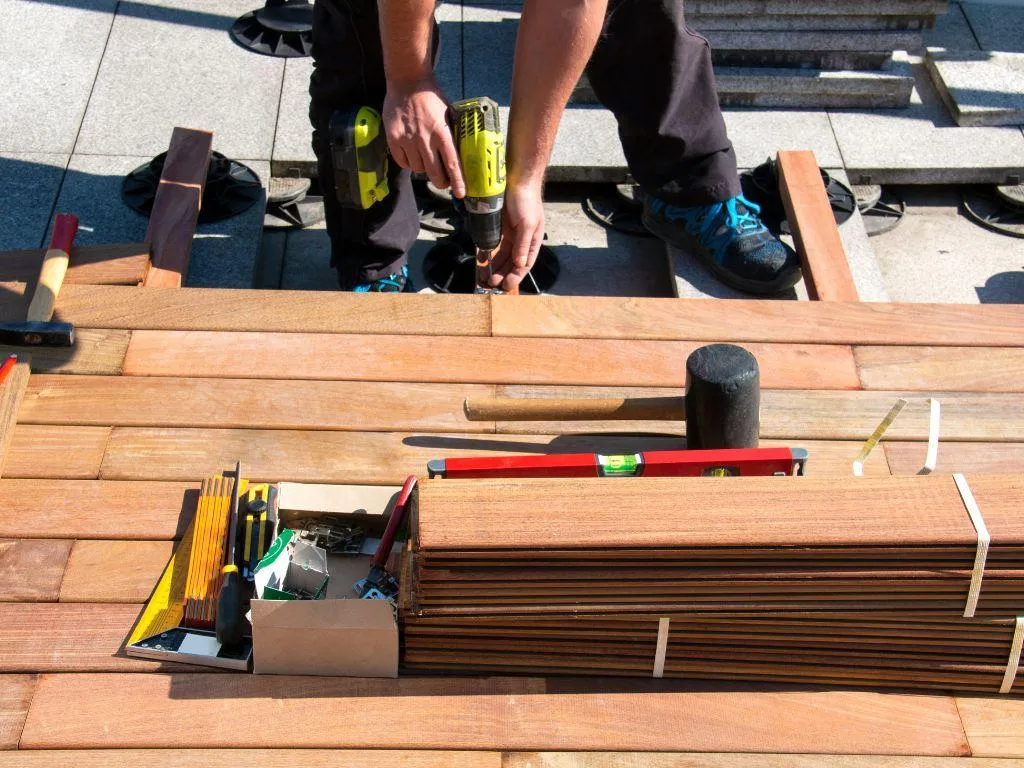
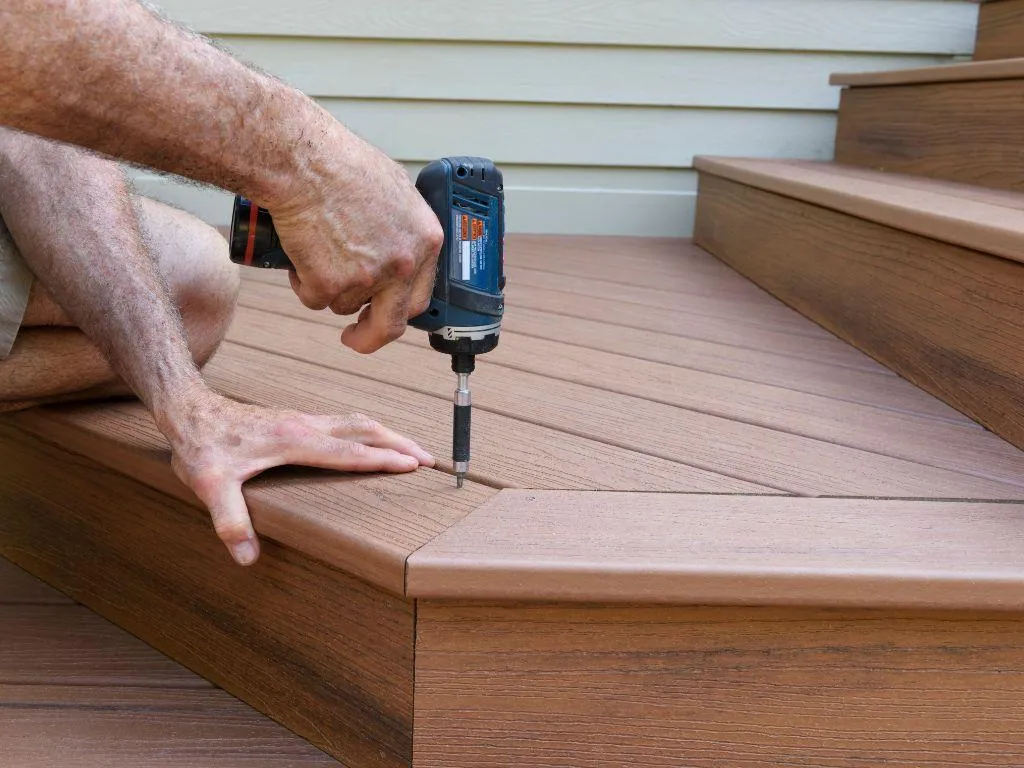
Deck Builder for New Outdoor Spaces
Custom Deck Installation & Design
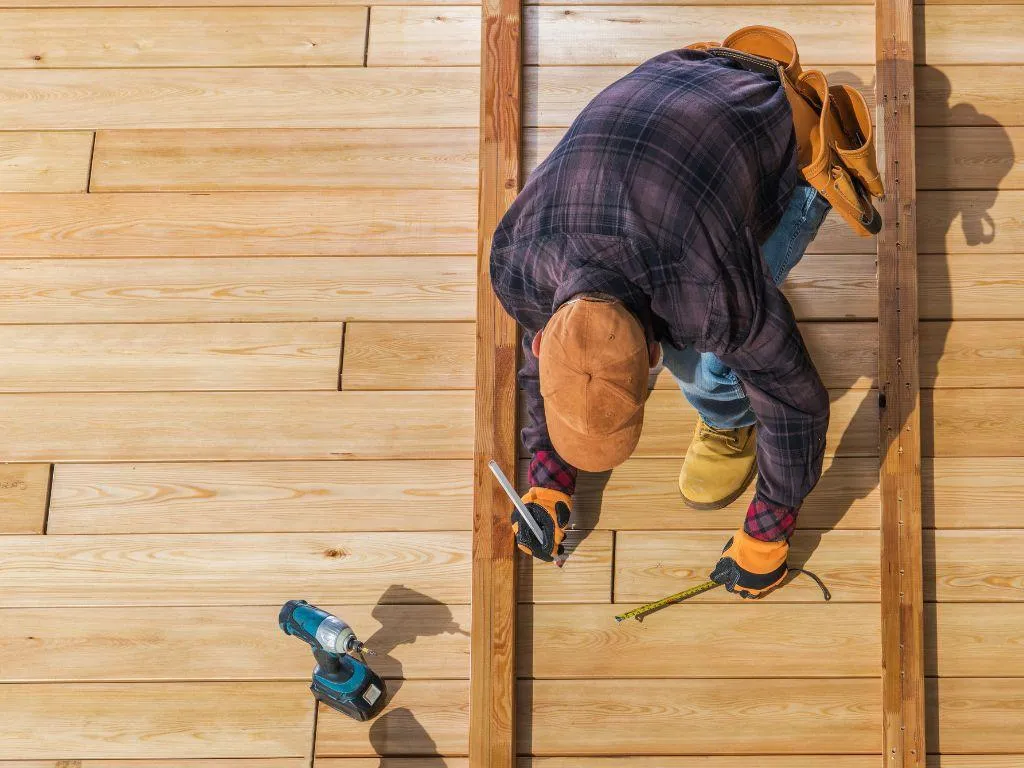
Dreaming of a new deck? Roofing Rebels Denton builds custom decks designed for outdoor living. From pressure-treated pine to composite decking systems, our expert deck builders create safe, durable platforms for entertaining, relaxing, and family time. Our deck services include:
Joist framing and ledger board installation
Composite deck boards
Railing systems and staircases
Elevated or multi-level decks
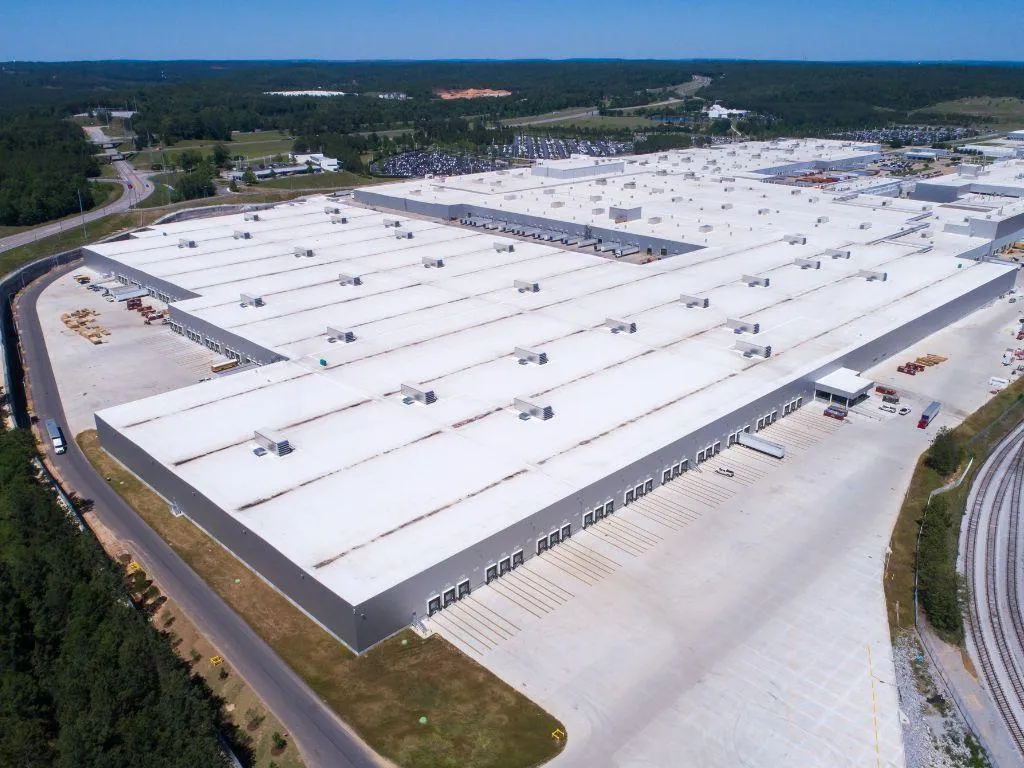
We work closely with homeowners and contractors to ensure that each slab is properly reinforced, moisture-protected, and ready for whatever structure it will support, whether it’s a garage, ADU, or warehouse floor.

Concrete Services
Driveways, Patios & Flatwork You Can Count On
Concrete is one of the most durable and versatile building materials, and Roofing Rebels Denton knows how to use it right. We pour smooth, reinforced surfaces for driveways, patios, sidewalks, and foundations.
Every job starts with a proper gravel base, reinforced with rebar, finished with control joints and a clean broom finish. We also offer stamped and decorative concrete options for a more custom look. Core Concrete Services:
Concrete driveway installation
Concrete patios and walkways
Foundations and slabs
Lifting/Slab jacking
Commercial, well dock ramps, tilt walls
Prevent foundation problems and protect siding with a reliable gutter system.
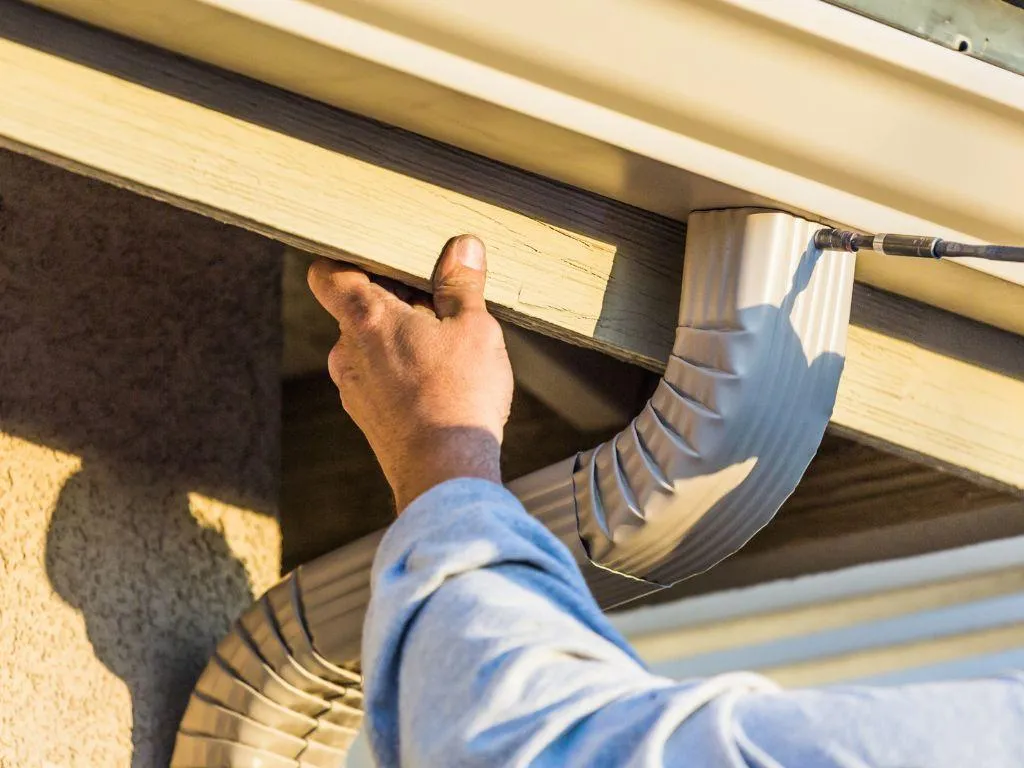
Gutter Installation & Repair
Protect Your Home with Quality Gutter Services
Gutters are your home’s first line of defense against water damage. Roofing Rebels Denton offers professional gutter installation, repair, and replacement using seamless aluminum or copper systems that handle heavy Texas rainfall. We properly size downspouts, install gutter guards, and ensure proper pitch for drainage. Whether you need to fix a leak or replace your entire gutter system, we keep your roofline clean and functional. Gutter Services Offered:
Gutter installation
Gutter cleaning and repair
Seamless gutter replacement
Gutter guard installation
Prevent foundation problems and protect siding with a reliable gutter system.
Why Homeowners ChooseRoofing Rebels Denton?
Local & Family-Owned Since 2012
Locally owned and operated in Denton TX
Responsive service and free quotes
Trusted by homeowners, business owners, and real estate pros
5-star reviews across Denton County
Familiar with local building codes and materials suited to North Texas
We are proud to be a local contractor that puts people first. Every project is treated like it is our own home.
How it works

Get a Free Quote
Call us at 940-514-8639 or fill out our short form to request a free estimate. One of our team members will reach out to schedule a time to check out your roofing project needs.

Receive an Estimate
After we assess the job, you'll get a written estimate with the details and cost. Just reply to confirm, and we’ll arrange a time that works best for you to get the job done.

Complete the Job
Our professional crew will arrive on the scheduled date, complete the project, clean up any debris, and leave your property looking great!

Denton County Service Area


Project Gallery


testimoniAls
Roofing Rebels Denton did a fantastic job on our roof replacement. After a recent hailstorm, we had damage we didn’t even notice until their free inspection. They walked us through the entire process and worked with our insurance. The new roof looks amazing and was done ahead of schedule.
I had a roof leak that popped up right before a weekend, and Roofing Rebels Denton came out within hours. They tarped everything to prevent further damage and followed up with a full repair on Monday. You don’t see that kind of urgency and care often. Highly recommend them for emergency roofing work.
As a homeowner in Denton, I’ve worked with a few contractors over the years, but Roofing Rebels stood out. They gave me a clear, honest estimate and didn’t try to upsell me. Their crew was respectful, on time, and cleaned up every scrap. The finished roof gives our house a whole new look.
I was nervous about getting our roof redone, but Roofing Rebels made the process easy. They explained every step, showed up on time, and finished in just two days. The pricing was fair and transparent. It’s refreshing to find a contractor that communicates well and delivers quality work.
After getting several quotes, we chose Roofing Rebels Denton because they were local, knowledgeable, and had great reviews. Our new shingle roof turned out great, and they even fixed some issues with our old vents while they were at it. It’s clear they take pride in their work.
Frequently Asked Questions
How fast can you replace a roof in Denton?
Most full roof replacements are completed within 1 to 2 days, weather permitting.
What fence material lasts the longest?
Cedar and vinyl fencing are both durable options for the Denton climate.
Do I need a permit for a new deck?
Yes, in most cases. We handle all permitting as part of the build process.
What PSI concrete do you pour?
Driveways typically use 3,000 to 4,000 PSI concrete, depending on soil and use.
How often should I clean my gutters?
At least twice per year, more often if your home is near trees.
GET YOUR FREE ESTIMATE TODAY!
Service Hours
Monday-Friday 8:00AM-5:00PM

Copyright 2025 / Roofing Rebels Denton / All Rights Reserved
This site is a service to assist homeowners in connecting with local service contractors. All contractors are independent and this site does not perform, not warrant or guarantee any work done by the contractor you engage. It is the responsibility of the property owner to verify that the hired contractor furnishes the necessary license and insurance required for the work being performed.